
React VR is a JavaScript framework used to create Virtual
Reality applications. In this lesson we will learn
how to create the index.vr.js page. Visit
Setting up React VR to set up this project.
This lesson was inspired by a workshop I attended: ReactVR - a VR Workshop with Javascript.
Thank you to Praveen Yalamanchi and Damian Montero.
Open the index file.
Highlight and cut out all the code in index.vr.js
✶ Reusable UI Elements
✶ Some comments are included (e.g. text and image)
✶ You can also declare components
✶ Class defined from React.Component
✶ Has a render function
✶ render() returns child sub-components
✶ Panoramic Image
✶ Defines Background Image.
import React, { Component } from 'react'
➼ import React -
This allows you to use the react library.
➼ { Component } -
This allows you to create a component class.
Once the React VR library is included, we can import specific components.
There are four components that are nessicary for the Pano Component to work.
import React, { Component } from 'react'
import { AppRegistry, asset, Pano, View } from 'react-vr';
➼ AppRegistry -
Allows React VR to identify the project's root.
➼ asset -
Helper function (lowercase) - Indentifies the files needed by components
➼ Pano -
Our 3D panoramic scene
➼ View -
Wrap other components in the view (e.g. text and images)

We will declare an ES6 class as the root component. It is customary to name the root component the same name
as the application. So we will call it Basics.
We will export Basics, so other files have access to it.
import React, { Component } from 'react'
import { AppRegistry, asset, Pano, View } from 'react-vr';

export default class Basics extends Component {
	render() {
	}
};
➼ Root Component -
Allows us to use component class functions
➼ render() -
This is the first declared function.
Our render function must return something, usually a view component.
import React, { Component } from 'react'

import { AppRegistry, asset, Pano, View } from 'react-vr';

export default class Basics extends Component {

	render() {
		return (
			<View>

			</View>
		)
	}
➼ view -
What is returned.
Next, we will add a Pano Component.
import React, { Component } from 'react'
import { AppRegistry, asset, Pano, View } from 'react-vr';
export default class Basics extends Component {
	render() {
		return (
			<View>
				<Pano></Pano>
			</View>
		)
	}
};
➼ Pano -
Panogramic Image Component
Add a VR panoramic image to the statics-assets folder of the project.
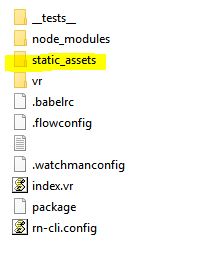
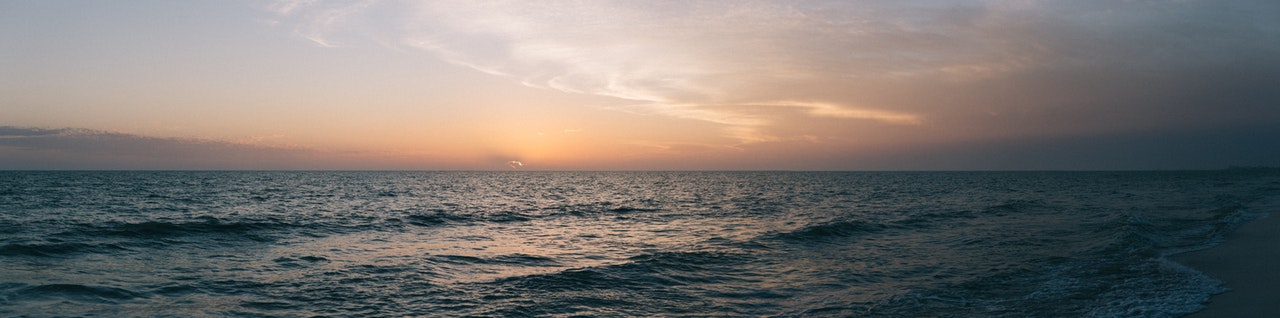
You can Google "VR Panoramic Image" or use the image file below: ocean_view.jpeg
ocean_view.jpg is an image by Josh Thank you Josh! <3
We already imported the asset function.
If we name our file as a parameter, the asset function will be able to see
ocean-view.jpeg.
import { AppRegistry, asset, Pano, View } from 'react-vr';

export default class Basics extends Component {

 	render() {
		return (
			<View>
				<Pano source={asset('ocean-view.jpeg')}></Pano>
			</View>
		)
	}
};
➼ ocean-view.jpeg - Our panoramic image file
Next, we will state the root component class.
    import React, { Component } from 'react'

import { AppRegistry, asset, Pano, View } from 'react-vr';
export default class Basics extends Component {

 	render() {
		return (
			<View>
				<Pano source={asset('ocean-view.jpeg')}></Pano>
			</View>
		)
	}
};

AppRegistery.registerComponent('Basics',() => Basics);
➼ Declare root component class
Now check out your code in the web browser.
If you used the Ocean-view image, you should see something like the screenshot below.
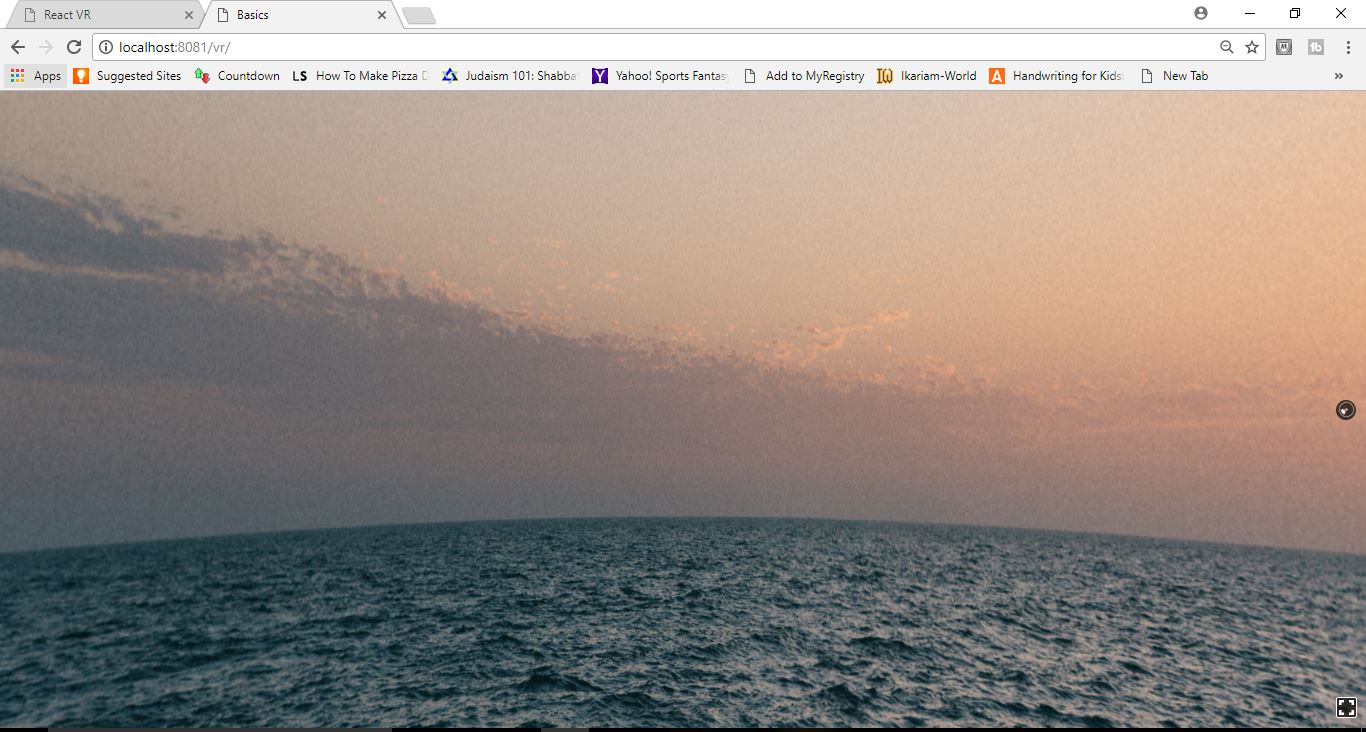
Don't forget to play with the image in the web browser. Try moving it around to test out the user experience.