
React VR is a JavaScript framework used to create Virtual
Reality applications. In this lesson, we will learn about props.
In this lesson we will use props to create a list.
Visit Setting up React VR to set up.
This lesson was inspired by a workshop I attended: ReactVR - a VR Workshop with Javascript.
Thank you to Praveen Yalamanchi and Damian Montero.
Components use two types of data: props and state.
Props are the creation of a component's parameters. This allows us to reuse the same component, even if you have to alter its properties. However, props are only used for static data.
State is used for variable data.
Create a sections directory. Inside sections, create a sub-directory called pano
$ cd reactVR/Basics/
$ mkdir sections
$ cd sections
$ mkdir pano
Copy and paste the index.vr.js into the new pano directory.
Next, we will create a class called "Beach" and add "Text" component.
import React, { Component } from 'react';
import { AppRegistry, asset, Pano, View, Text} from 'react-vr';
// new class
class Beach extends Component {
}
export default class Basics extends Component {
 	render() {
		return (
			<View>
				<Pano source={asset('water-view.JPEG')}></Pano>
			</View>
		)
	}
};
AppRegistry.registerComponent('Basics',() => Basics);
➼ Text -
add text component
➼ Beach class -
create Beach class
Create the render() function for your new Beach component.
class Beach extends Component {
	render() {
		return (
			<Text>Beach Items: Towel</Text>
		)
	}
};
➼ text component -
To display the text, you have to format it and add a view.
Next we will center the text and define its color and size.
**Note, ReactVR measures size in meters (not pixels).
class Beach extends Component {
	render() {
		return (
			<Text style={{textAlign: "center", fontSize: 0.4, color: 'black'}}>Beach Items: Towel</Text>
		)
	}
};
➼ align -
centered
➼ font size -
.4
➼ color -
black

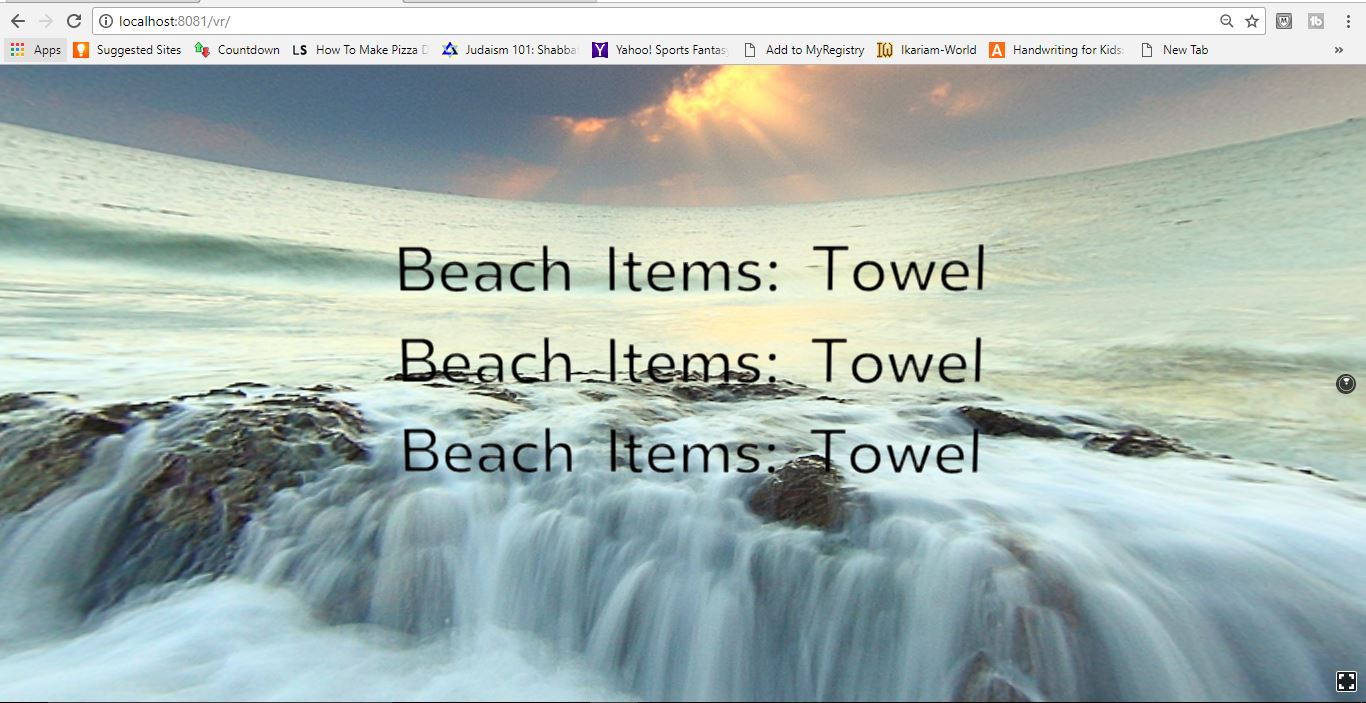
Create a new sub-View below your Pano component. Add 3 of your Beach components to the new View. Center all the text.
export default class Basics extends Component {

 	render() {
		return (
			<View>
				<Pano source={asset('water-view.JPEG')}></Pano>
				<View
				  style={{
				    transform: [{translate: [0, 0, -3]}],
				    layoutOrigin: [0.5, 0.5]
				  }}>
					<Beach />
					<Beach />
					<Beach />
				</View>
			</View>
		)
	}
};
➼ view -
New code creating our subview.
➼ Beach -
Our Beach class components
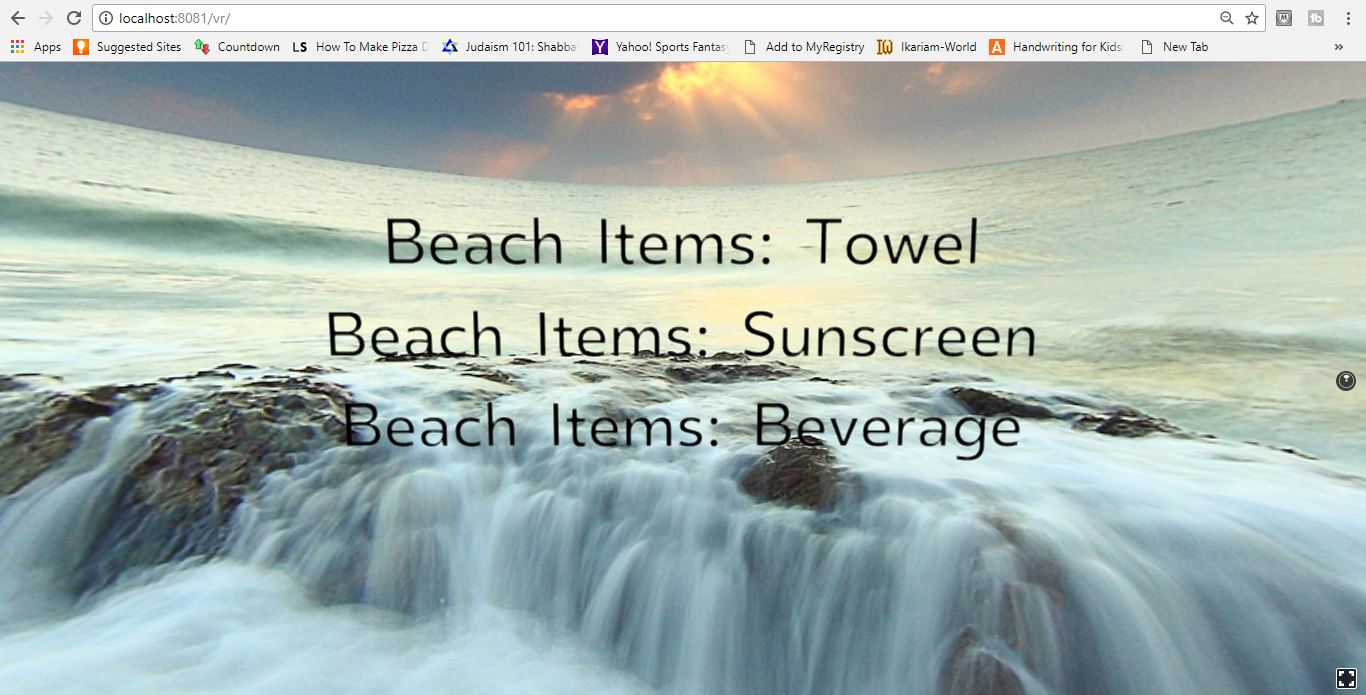
Use props to change the Beach Items, using the text attribute.
<Text style={{textAlign: 'center', fontSize: 0.4, color: 'yellow'}}>Beach Items: Towel</Text>
<Text style={{textAlign: 'center', fontSize: 0.4, color: 'yellow'}}>Beach Items: {this.props.text}</Text>
<Beach />
<Beach />
<Beach />
<Beach text='Towel' />
<Beach text='Sun Screen' />
<Beach text='Beverage' />
Below Photo by Pok Rie from Pexels
Your code should look like this:
import React, { Component } from 'react';
import { AppRegistry, asset, Pano, View, Text } from 'react-vr';

class Beach extends Component {
  render() {
    return (
      <Text style={{textAlign: 'center', fontSize: 0.4, color: 'yellow'}}>Beach Items: {this.props.text}</Text>
    )
  }
}

export default class Basics extends Component {
  render() {
    return (
      <View>
        <Pano source={asset('water-view.JPEG')}></Pano>
        <View
          style={{
            transform: [{translate: [0, 0, -3]}],
            layoutOrigin: [0.5, 0.5]
          }}>
          <Beach text='Towel' />
          <Beach text='Sun Screen' />
          <Beach text='Beverage' />
        </View>
      </View>
    )
  }
};

AppRegistry.registerComponent('Basics',() => Basics);

