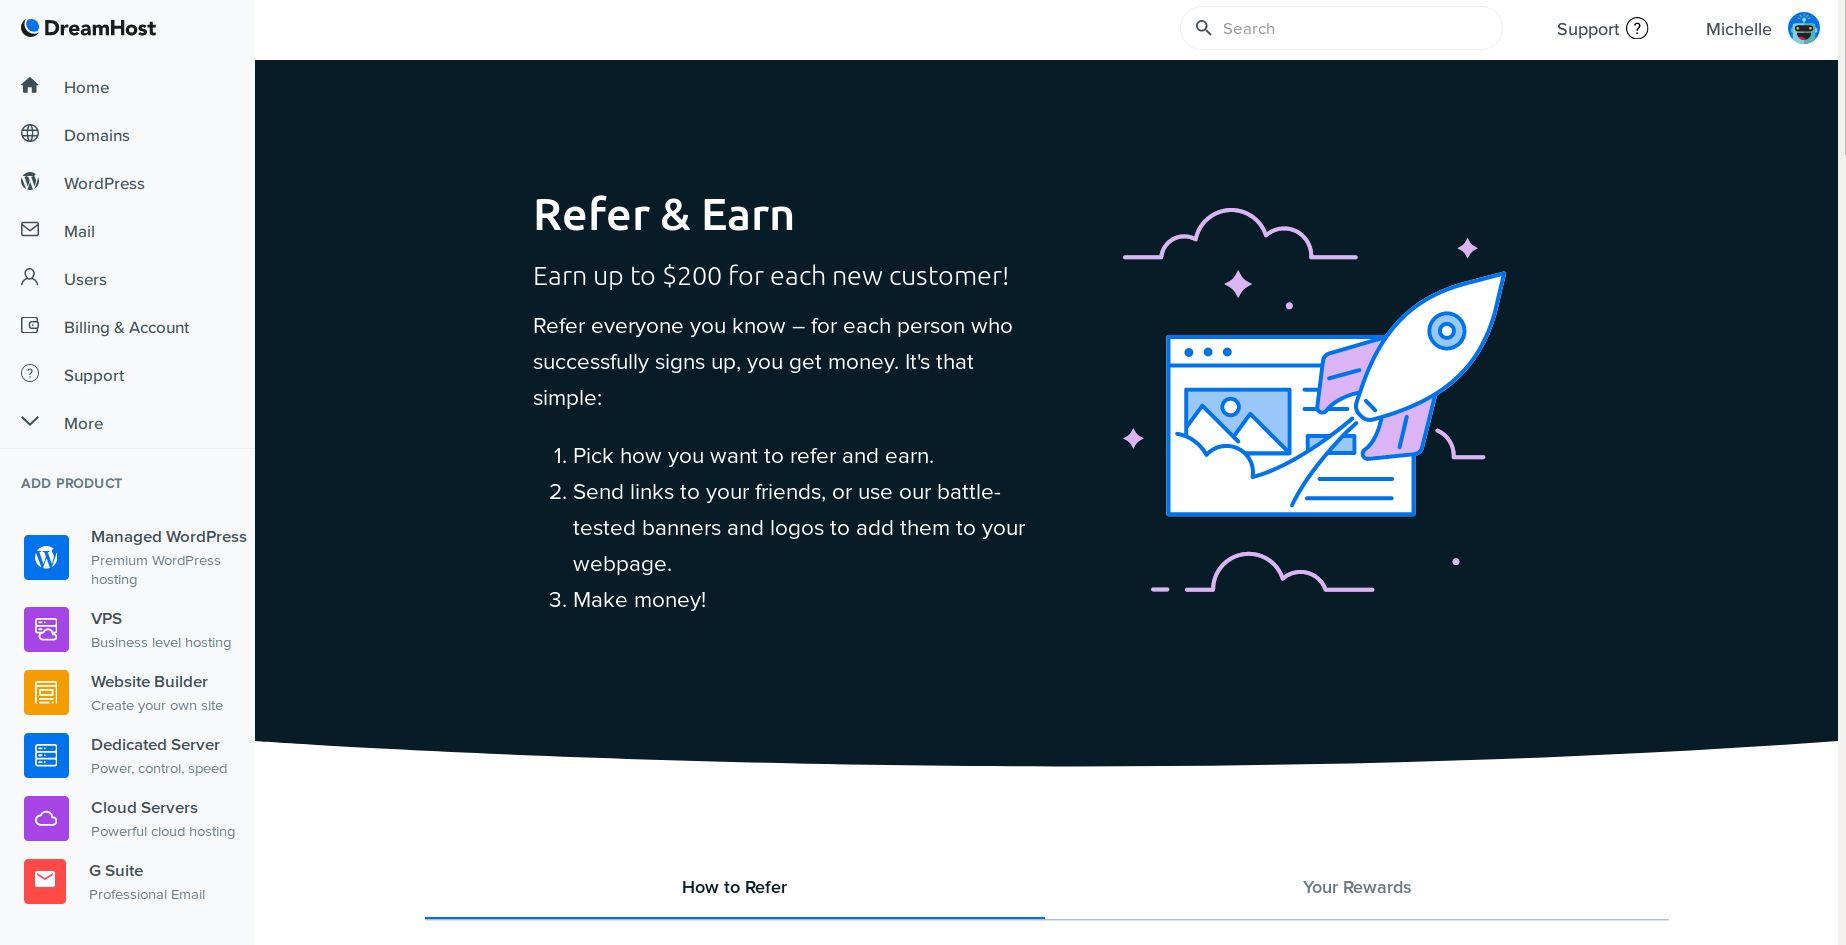
DreamHost Dashboard
Now let's navigate through our DreamHost dashboard! Once you log in, you should see something like this:
Your Domains
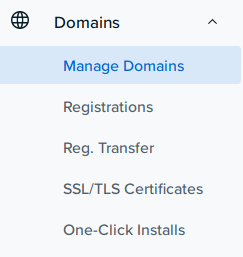
Click on "domains" then select "manage domains".
You should see a list of your domains.
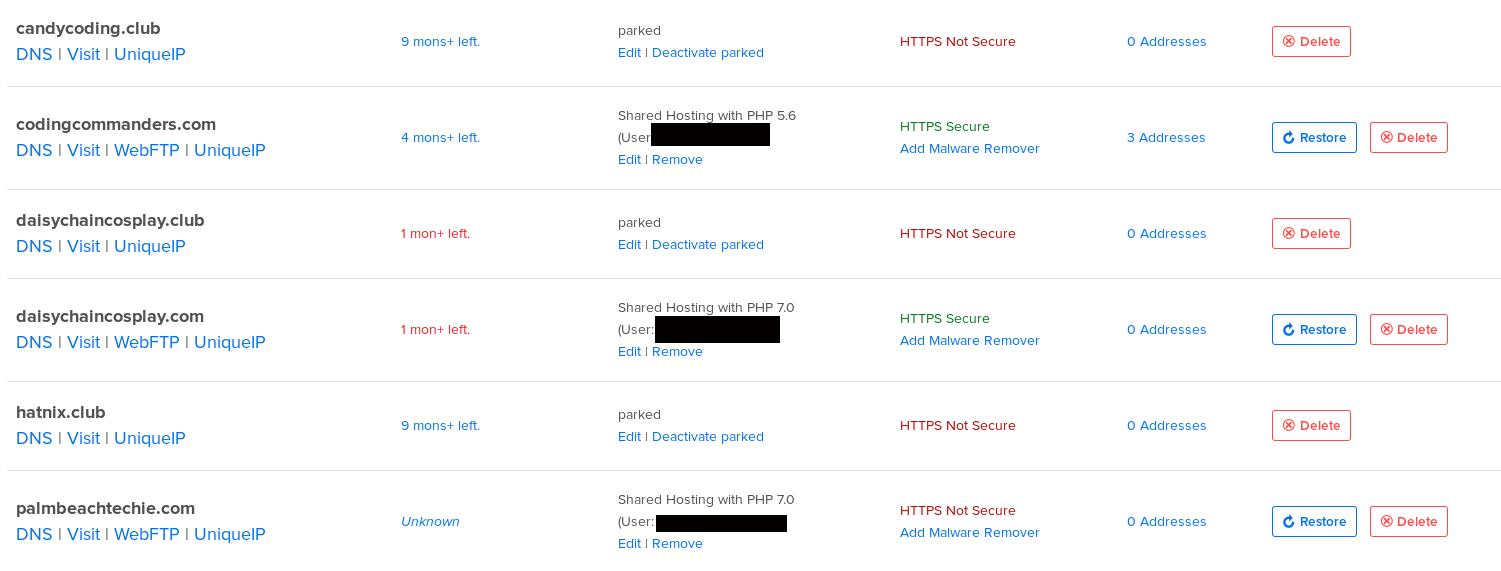
If you just purchased your domain, the hosting setting is probably marked "parked".
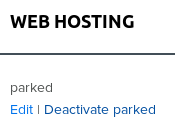
To have your site fully hosted click on "Deactivated parked". An alert box will appear asking if you are sure. Click "OK".
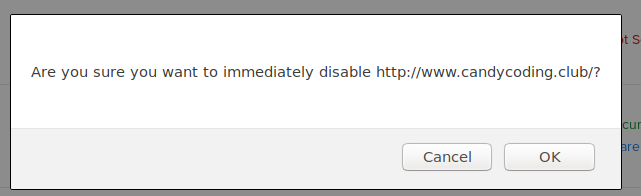
There are four hosting options. You want to select "fully hosted".

Now that your site is fully hosted, let's set up a file transfer user.
Creating a New User
Follow the DreamHost Tutorial on adding a new user. There are differnt types of users. I will explain what each type means, so you can make the best choice. More details are provided in the DreamHost tutorial.
FTP User
If you are new to web development, this is the option I suggest. The other options will require much more web master training.
File Transfer Protocol (FTP) is used to transfer files from your computer to the web server. It is quick and easy to set up and you can even use the DreamHost web tool.
SFTP User
SFTP is like FTP with an extra layer of encrypted security. This level of security is not needed for a static site. You should not post any sensitive data, such as account information, in the front end code (HTML, CSS, JavaScript). If you use an external service for payments (e.g. PayPal, Stripe) their servers handle the security. You only need to worry about sensitive data stored on your own server.
Shell Users
These are users who will transfer files (via FTP or SFTP) using the Linux command line. If you want to know more about Linux commands, check out my YouTube video:
Intro to Linux: Basic Commands and Definitions
WebFTP
Are you ready to put some code live? I will show you how to use WebFTP to put your code live right now. If you don't have any code, you can use the code on Twitch Website Code or upload a page called index.html containing a simple sentence. This is a way to quickly test your hosting. The first time you upload to your site, it may take a couple of hours to see it live. After that updates will appear instantaneously.
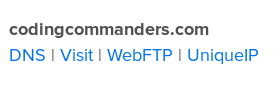
In the side menu, click on "domains" than select "Manage domains".
Under your domain name, there should be a link "WebFTP". If you do not see this link, scroll up and follow the instructions to set up a user. Make sure the user has FTP rights.
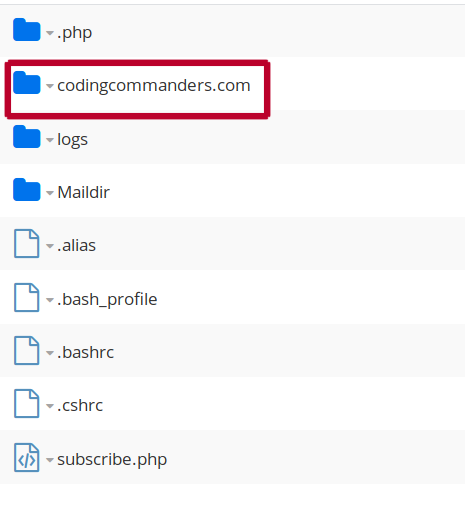
Once you are logged in you should see a list of project directories. Click on the directory named the same as your web domain. My domain is codingcommanders.com, so I will click on the directory called codingcommanders.com
Click on the upload button on the bottom of the screen.

If you are uploading a folder (in the Twitch website project media is our only folder) choose "upload folder" then use your file explorer to select the appropriate folder. If you are uploading a file (e.g. index.html, style.css, main.js) choose "upload file", then use the file explorer to select the appropriate file.
In the next lesson you will learn how to set up Filezilla. Filezilla is a desktop application that makes file transfer quick and easy. Setting up Filezilla is optional. You can skip ahead to customizing your website. I do recommend setting up Filezilla eventually. But it doesn't have to be right now.