Web Hosting with DreamHost
In this article I will go through all the steps needed to purchase your domain and get your site up and running with DreamHost shared hosting.
Types of Hosting
Dedicated Hosting
A web server stores your website. Dedicated hosting means your website gets its own dedicated physical server (like a computer). I do not recommend dedicated hosting for this project because it is expensive, and you will pay for resources you just don't need. Unless you have a large corporation with large databases, you probably don't need the entire space of a dedicated server. DreamHost shared hosting starts at just $2.59 per month! In contrast dedicated fully managed hosting starts at $149 per month.
Shared Hosting
Shared hosting means a web server is partitioned into several user spaces. In other words, many websites are hosted on the same machine. Sharing the server's resources keeps costs down. Your website will have its own private space on the shared server. I recommend shared hosting via DreamHost because it is an affordable, reliable and secure way of getting everything you need.
VPS
If you are tech savvy, a VPS (Virtual Private Server) is another hosting option. VPS hosting through DreamHost starts at just $10 a month. A virtual private server is software that functions as a server and runs within an actual physical server. VPS hosting provides you with more back end options (what happens on the server). If this is your first website you probably do not have the knowedge to utilize this flexibilty. Even if you have the knowledge, you may not have the time to impliment it.
For a brief explaination of web servers, watch the cartoon below.
Back End of a Web Development Stack
Are you ready to get started with DreamHost?
Step 1: Go to dreamhost.com
Get up to $50 off DreamHost hosting using my Refer-a-friend link. When you click the link you should see something like this:
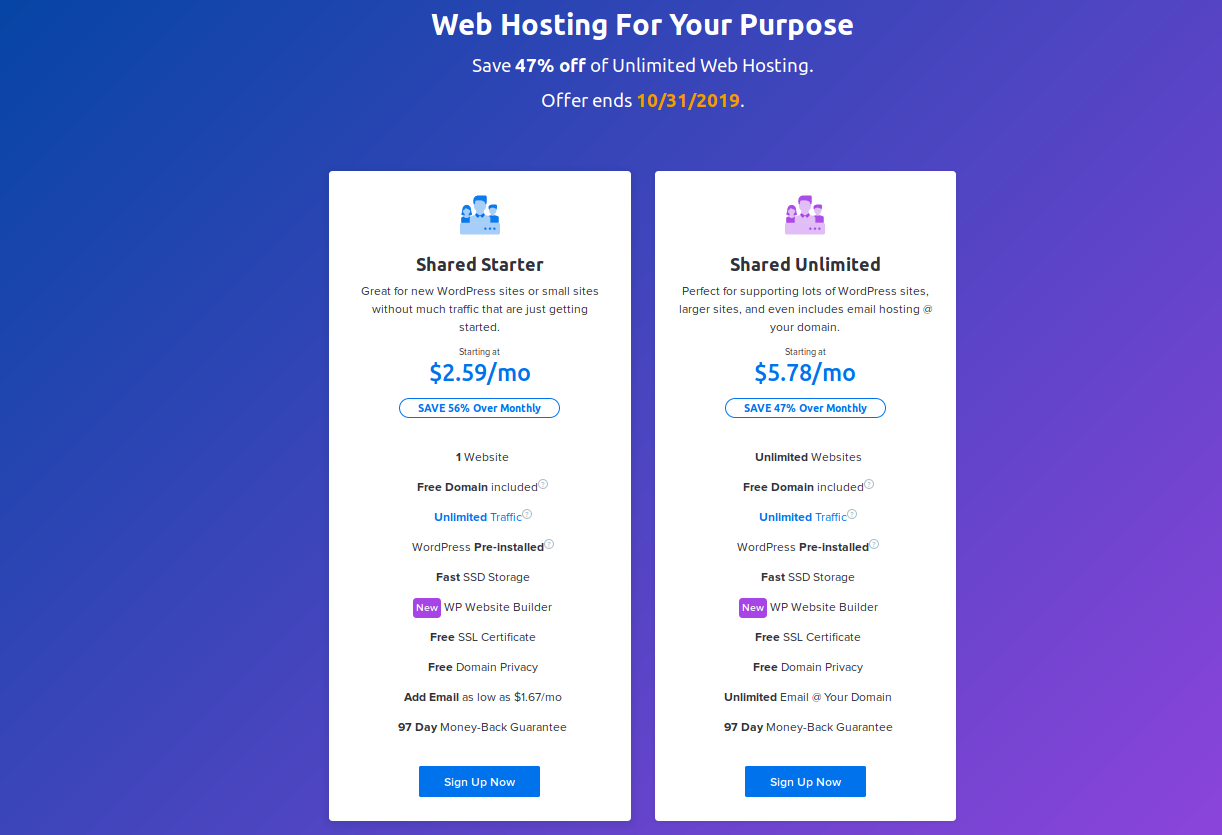
The exact promotional offer may change, but you should see something simular to the above image, providing you with shared hosting options. If you only have one website I would choose the first option, "Shared Starter".
Step 2: Select Pricing Option
Next, you should see something like this.
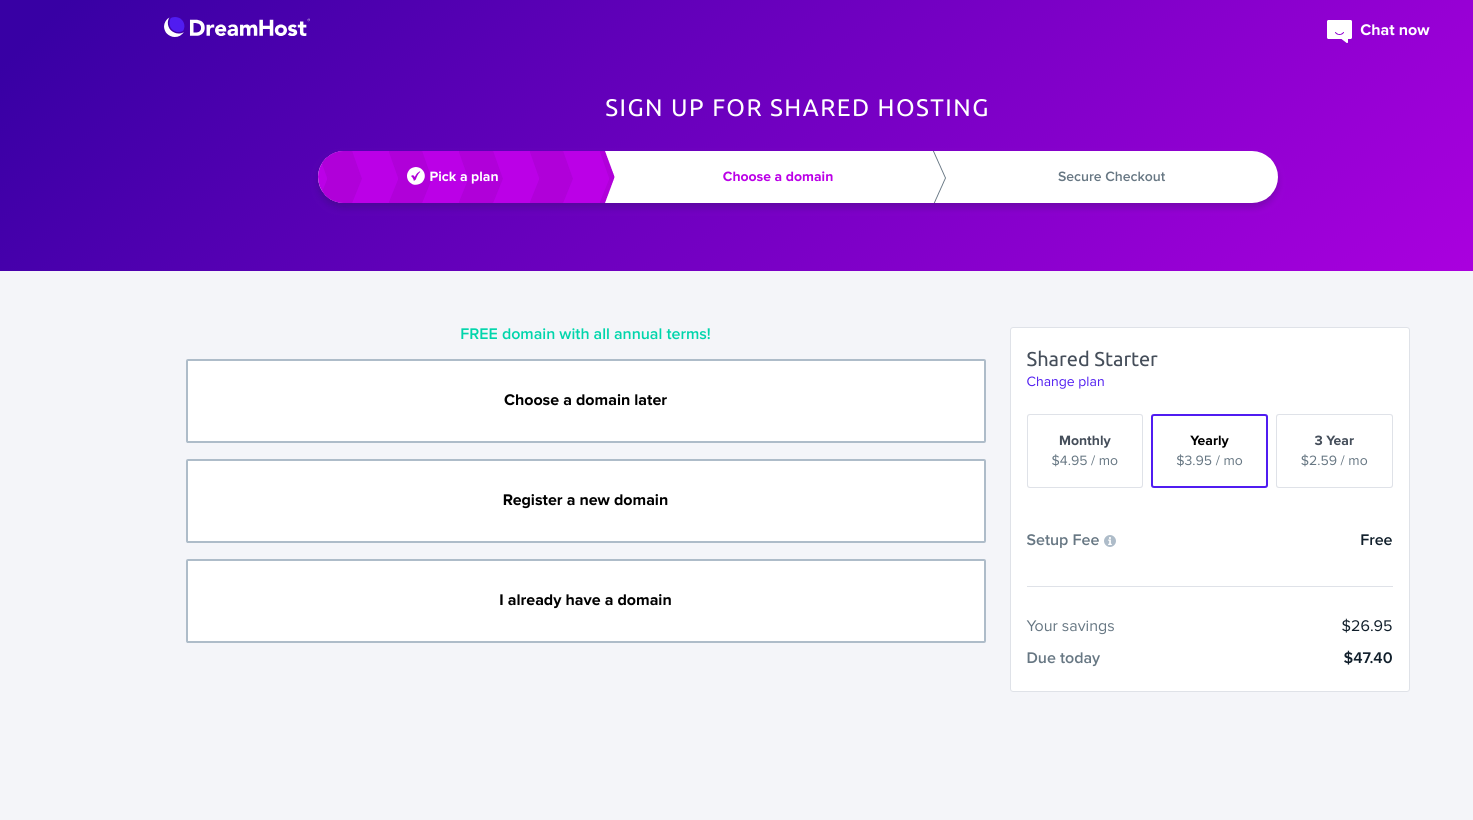
If you want to start out month-to-month, you can get your site hosted today for $4.99. You can also pay as little as $2.59/month if you pay for 3 years upfront. I usually do the 1-year option. Choose whatever option is best for you and your budget. I don't like the stress of paying month-to-month, but also do not like committing to 3 years. With that said, I have been with DreamHost for many years, so the 3-year option would have been the most advantageous. I just don't like commitment!
Step 3: Select Your Web Domain
There are three options:
Option 1: Choose a Domain Later
This is the option you select if you are in a hurry. A highly encorage you not to procrastinate. Select one of the next two options.
Option 2: Register a New Domain
Select this option if you haven't purchased your desired domain. If you choose the 1-year or 3-year hosting package, you will get 1 free domain. Domains elgible for the free offer include: .club, .com, .xyz, .tech, .info, .net, .online, .org, .shop
If you choose the one month option and want to purchase a low price domain, try .club (currently $0.99) or .me (currently $2.99). A standard .com domain is currently $9.99.
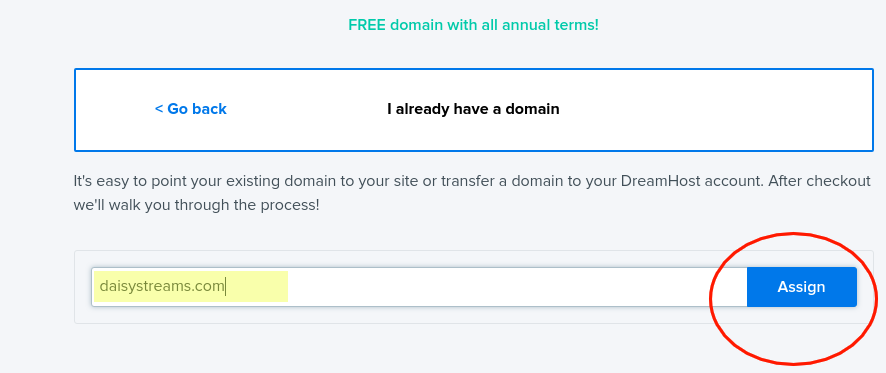
Option 3: I Already Have a Domain
If you already own your domain, select this option. Enter your domain in the input field and click assign. DreamHost will walk you through the appropriate steps. If you have any issues, contact their customer service department. DreamHost provides superb tech support. Their friendly team will get you up and running in no time!
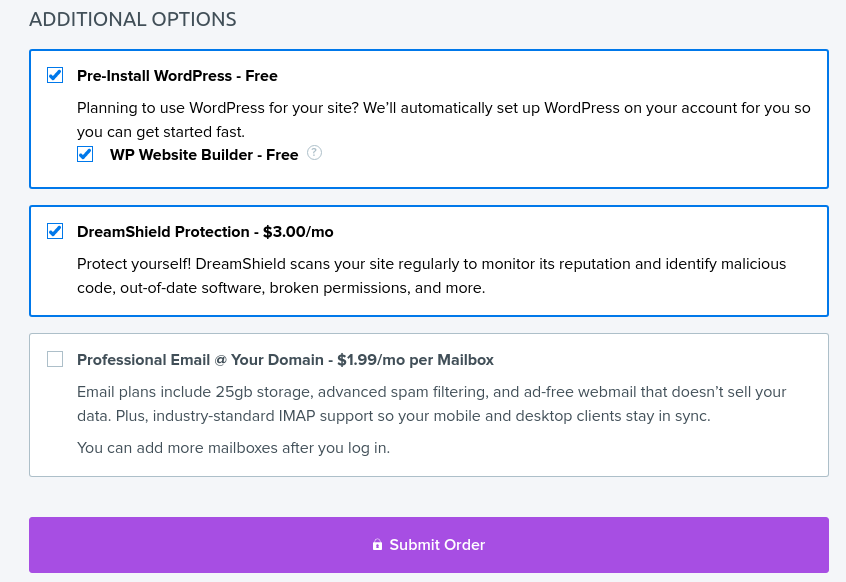
Step 4: Choose Hosting Add-ons
1-mailbox: Select this option if you want a business email with a custom domain. Example: daisy@daisystreams.com. I have 1-mailbox, but usually use my Gmail.
DreamShield Protection: Regularly scans your site to identify and flag malicious code, out-of-date software, permission errors, and more. I recommend this feature.
WordPress Add-ons: We are not using WordPress for this project, but DreamHost offers these services free. I suggest taking them in case you decide to use them later. You have nothing to loose.
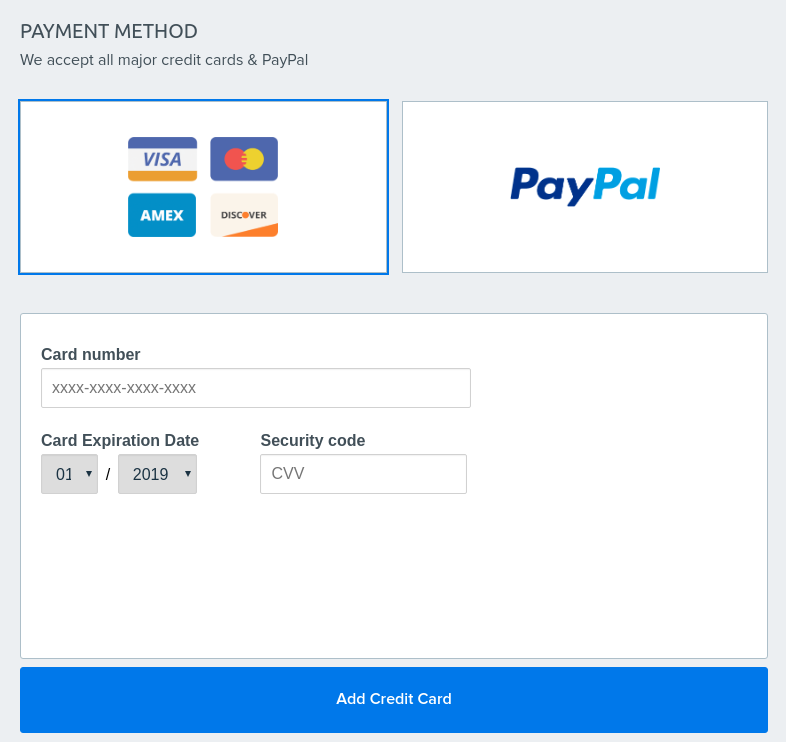
Step 5: Choose Payment Method
You can pay by credit card or PayPal. Enter information in all required fields.
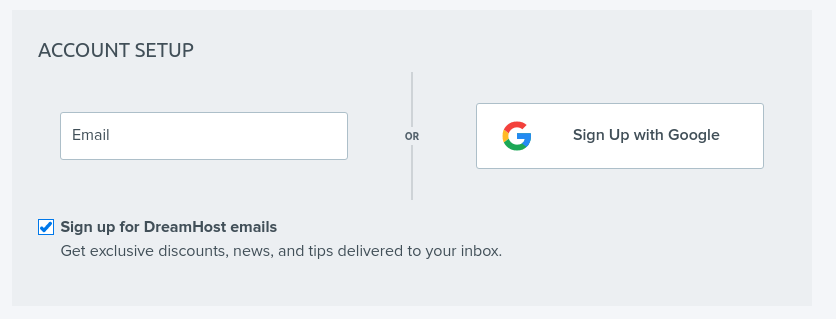
Step 6: Account Setup
Enter your email or sign in with Googole.
Step 7: Submit Order
Click the Submit Order button.
Congratulations! You now own a hosted web domain. In the next lesson you will learn about the DreamHoat dashboard and how to put your code live!