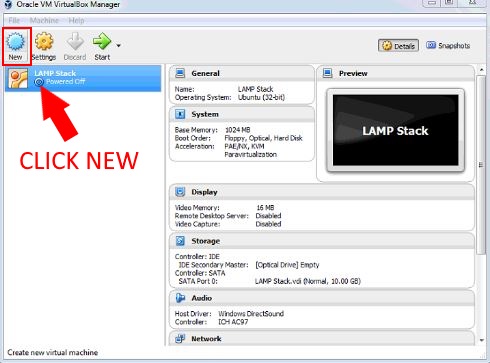
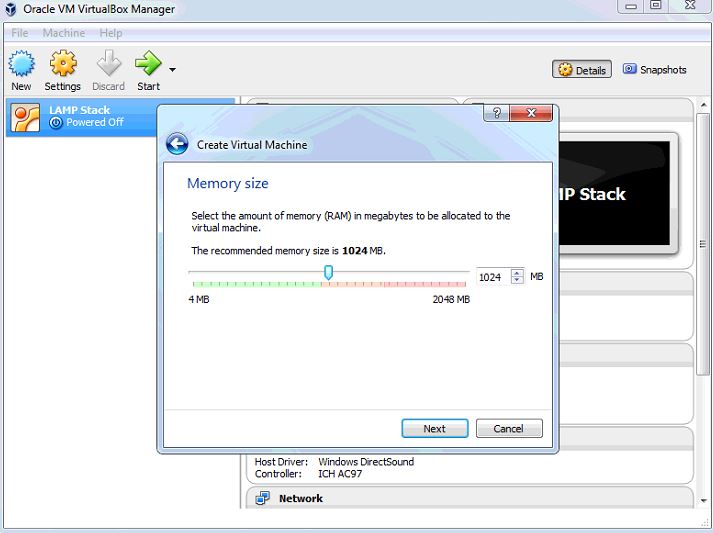
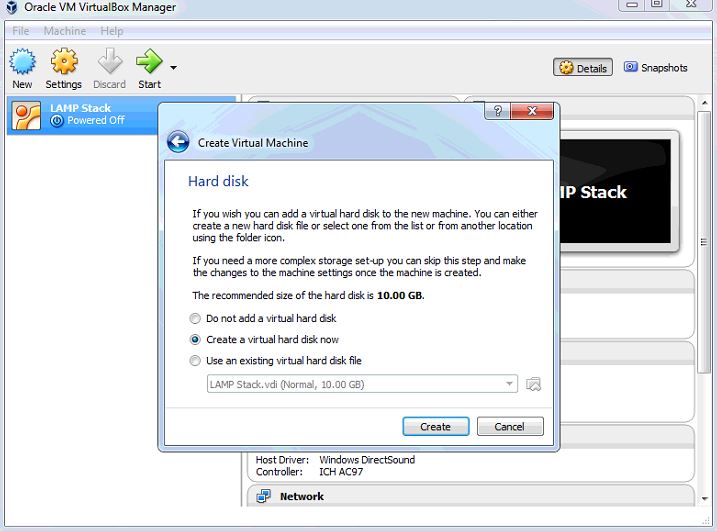
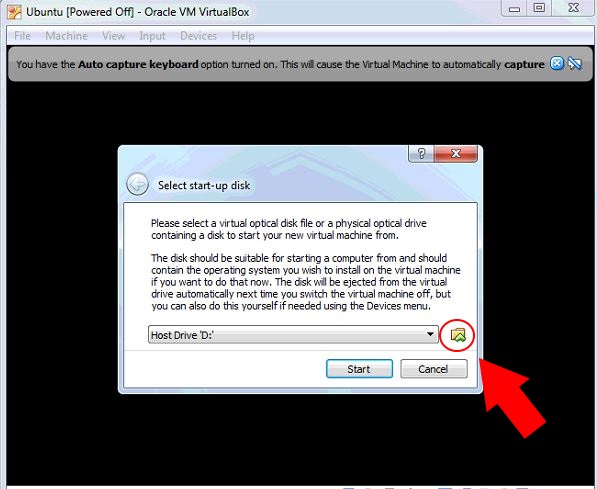
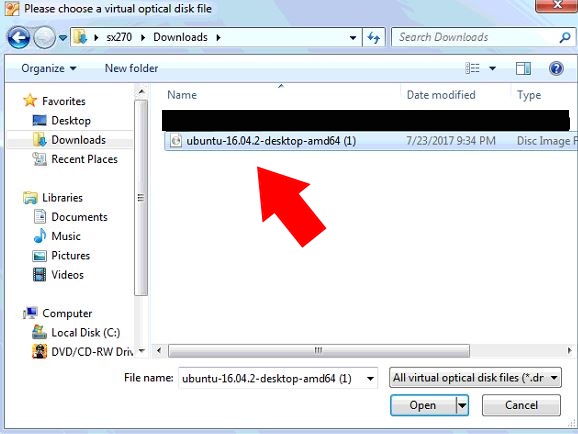
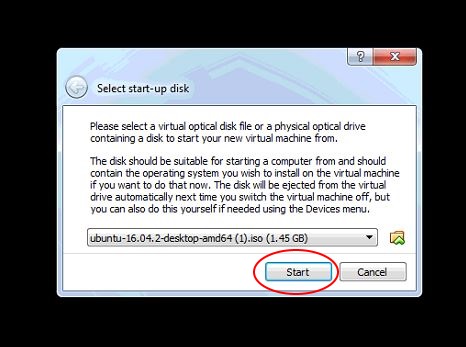
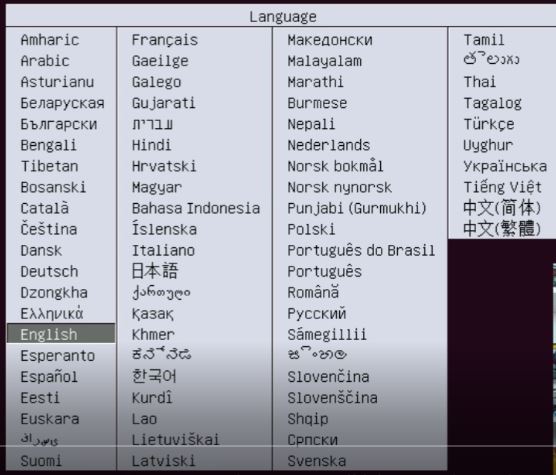
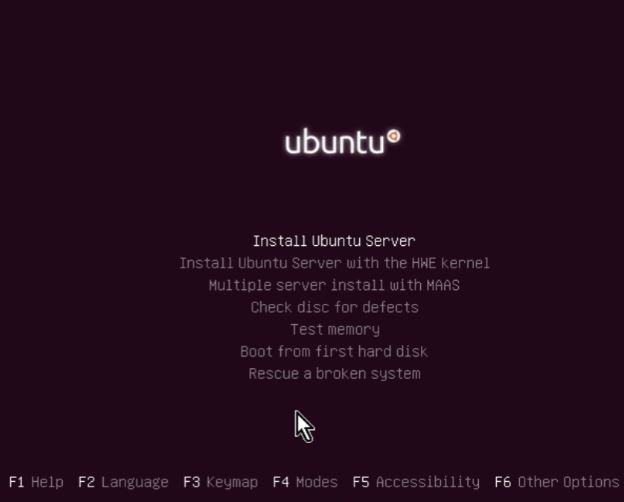
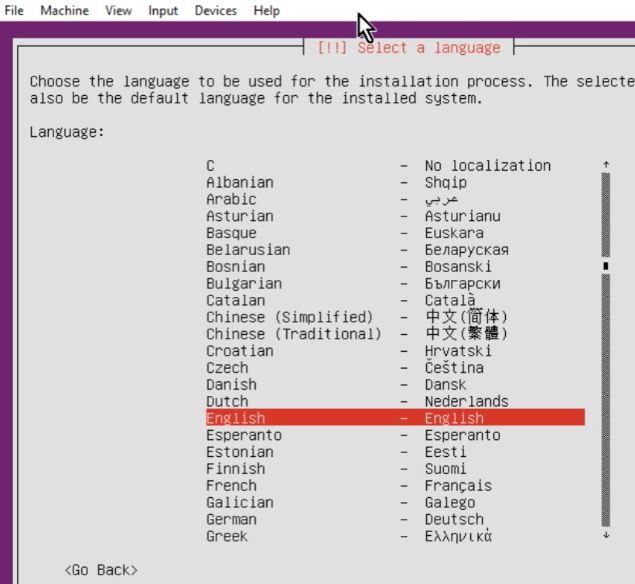
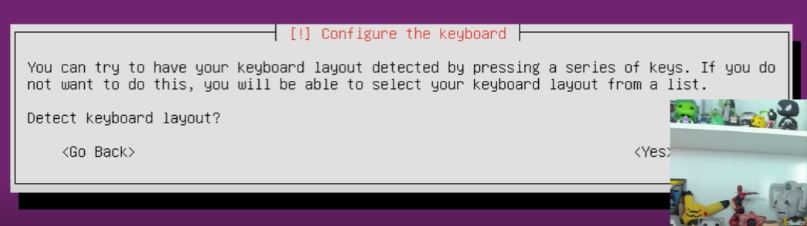
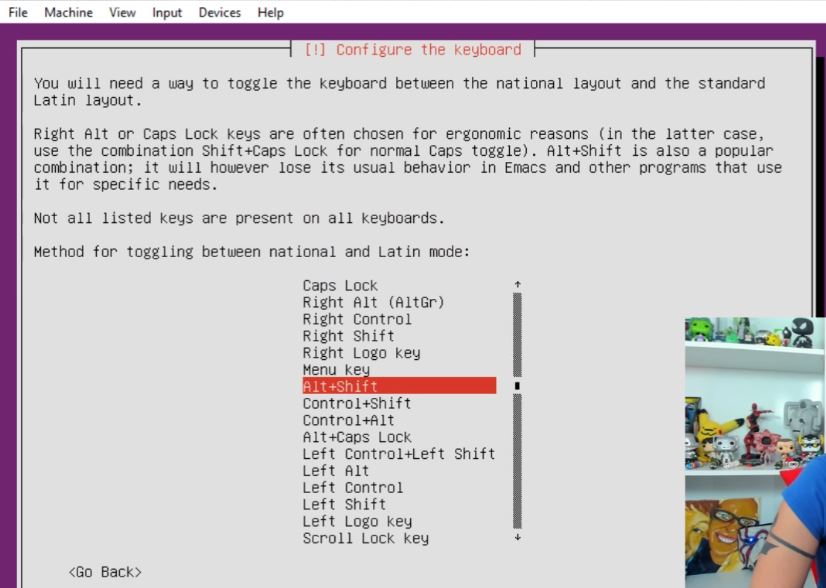
In this lesson you will learn how to download, install and set up Ubuntu Server on Oracle VirtualBox. To download VirtualBox visit: How to Install Oracle VirtualBox
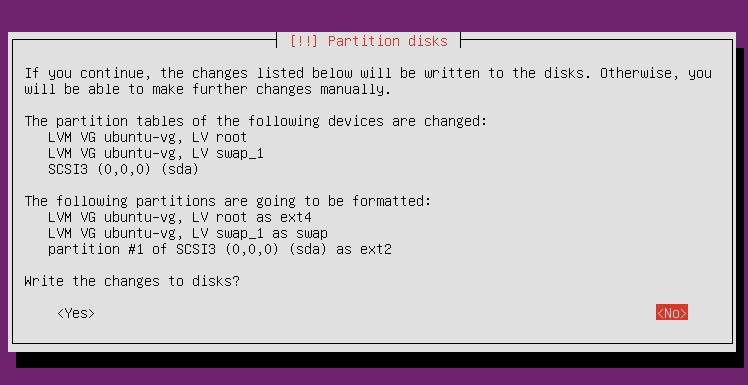
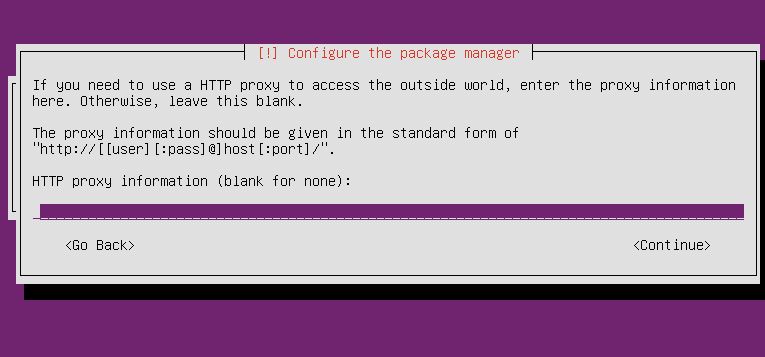
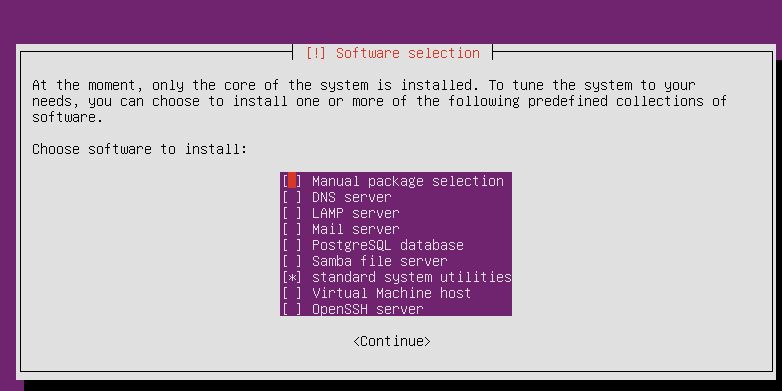
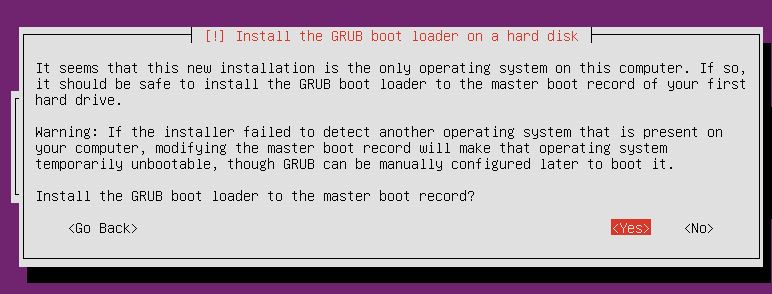
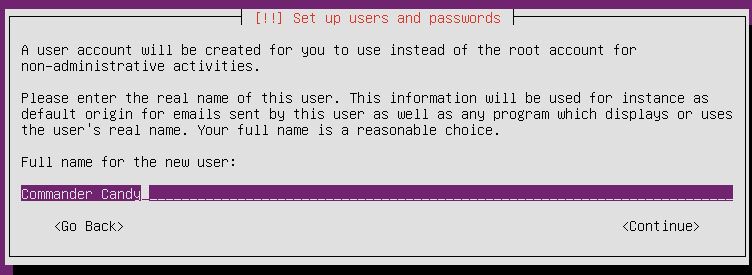
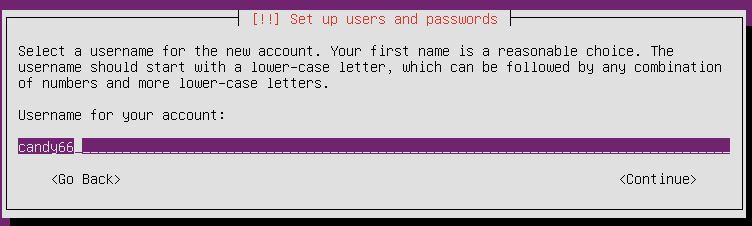
Please note that every operating system version and every computer is a little bit different. Use this as a guide, but don't be concerned if you don't see the exact same thing.
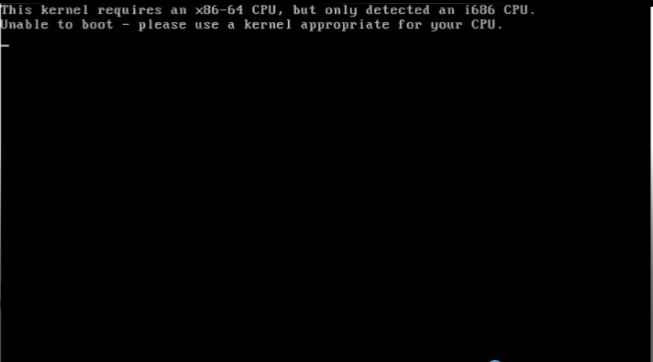
 32-bit
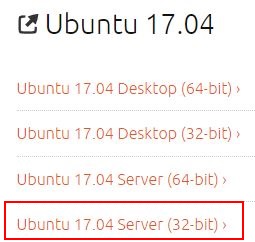


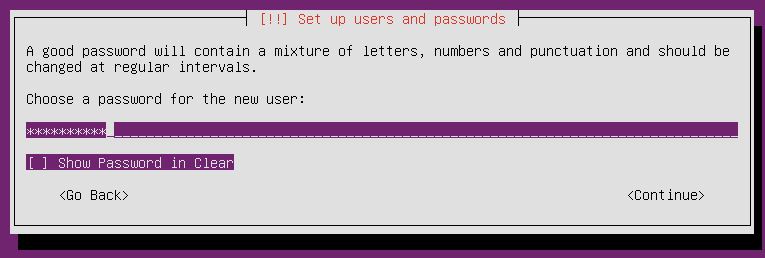
 Password:
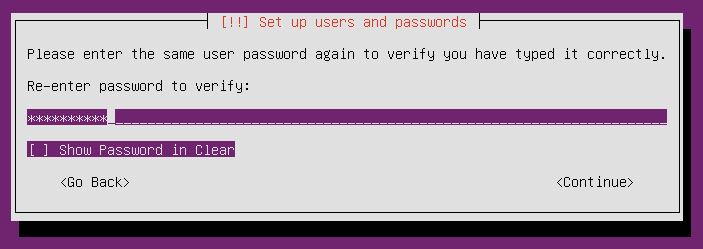